Most houseplants do not die overnight. They decline through a series of small, easy-to-miss decisions: watering because it is Saturday, choosing a pot that is much too large, leaving water inside a decorative container, or placing a plant in a corner that looks bright but receives very little usable light.
Those habits can continue for weeks before the leaves show a clear warning. By then, the owner often tries to fix everything at once—more water, more fertilizer, a larger pot, and a new location. That extra attention can make the original problem worse.
If your indoor plants keep turning yellow, dropping leaves, growing slowly, or attracting pests, check these eleven common mistakes before buying another plant-care product.
The Most Common Houseplant Mistakes at a Glance
| Mistake | What It Can Cause | Better Habit |
|---|---|---|
| Watering on a fixed schedule | Constantly wet or severely dry soil | Check the plant and soil first |
| Leaving water in the outer pot | Root damage and fungus gnats | Drain the nursery pot completely |
| Using a pot that is too large | Potting mix that stays wet too long | Move up only one pot size |
| Assuming low light means no light | Weak growth, leaf loss, and wet soil | Measure light by location and distance |
| Fertilizing a stressed plant | Salt buildup and root injury | Correct care conditions before feeding |
| Repotting every new plant immediately | Extra stress and root disturbance | Inspect first and repot only when needed |
| Using outdoor garden soil indoors | Compaction, poor drainage, and pests | Use an appropriate indoor potting mix |
| Misting as the solution to everything | Wet foliage without lasting humidity | Use a humidifier when humidity is truly needed |
| Ignoring leaf undersides | A hidden pest population | Inspect the whole plant regularly |
| Skipping quarantine | Pests spreading through the collection | Keep new plants separate temporarily |
| Changing several things at once | No clear diagnosis and more stress | Make one evidence-based correction |
1. Watering Because the Calendar Says It Is Time
“Water once a week” sounds simple, but plants do not use water according to a calendar. Pot size, potting mix, temperature, light, humidity, root health, and season all affect how quickly a container dries.
A plant beside a bright summer window may need water sooner than the same plant in a cool winter room. Watering both every Saturday can leave one dry and the other constantly wet.
What to do instead
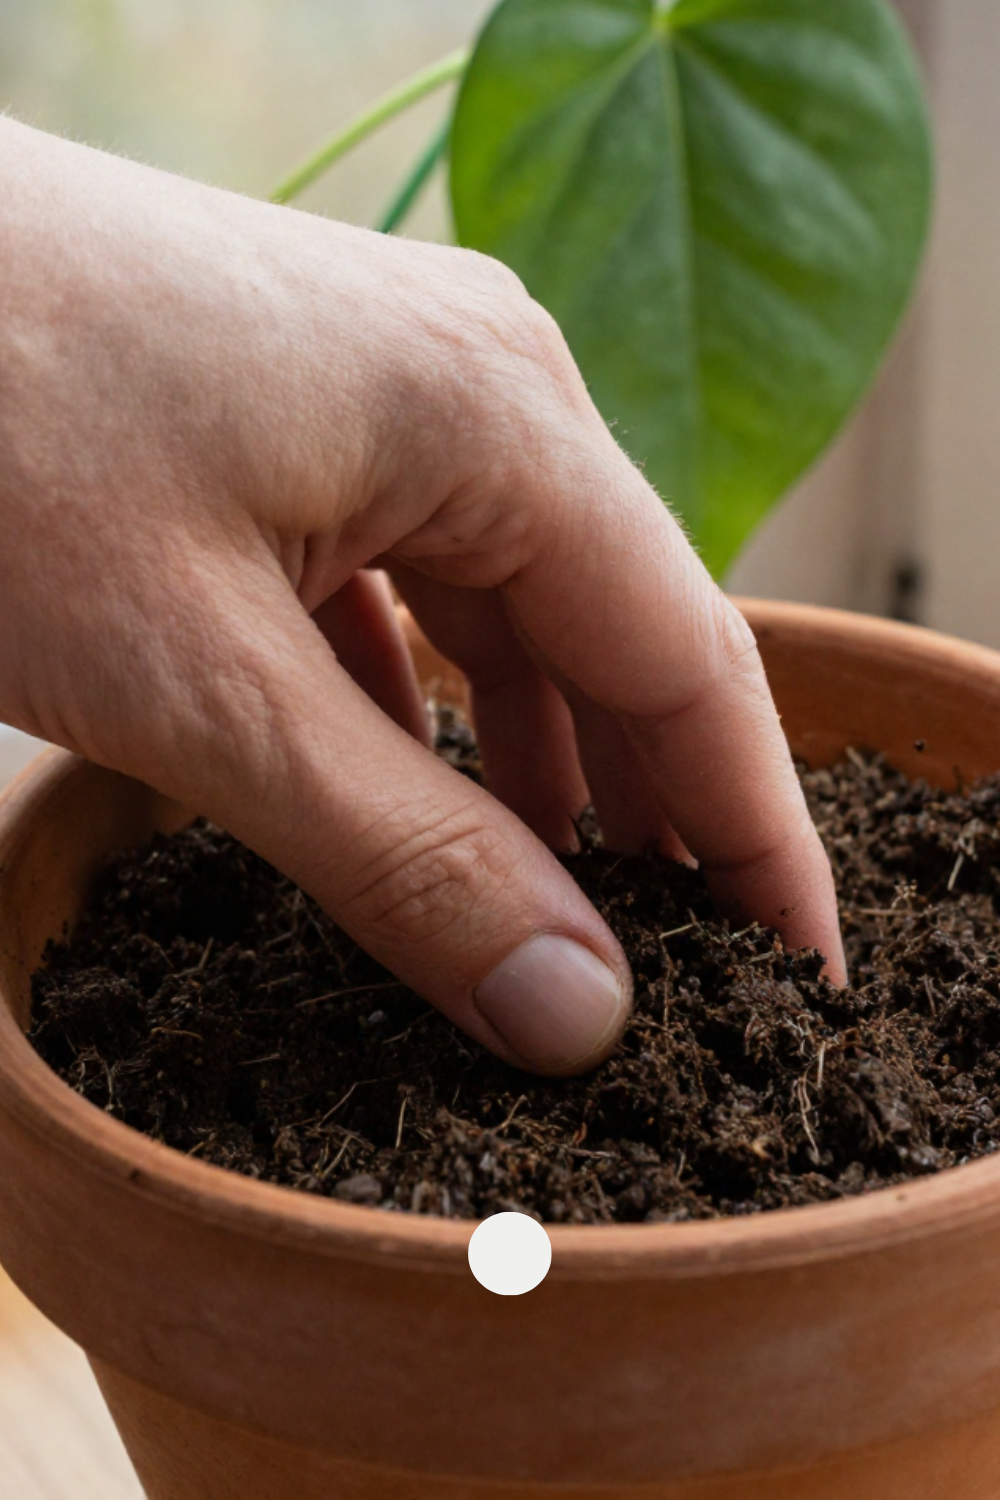
Check the potting mix below the surface and learn how the pot feels when recently watered versus nearly dry. Water thoroughly when the plant actually needs it, then let excess water escape. The correct drying level depends on the species; a ZZ plant and a moisture-loving fern should not receive identical treatment.
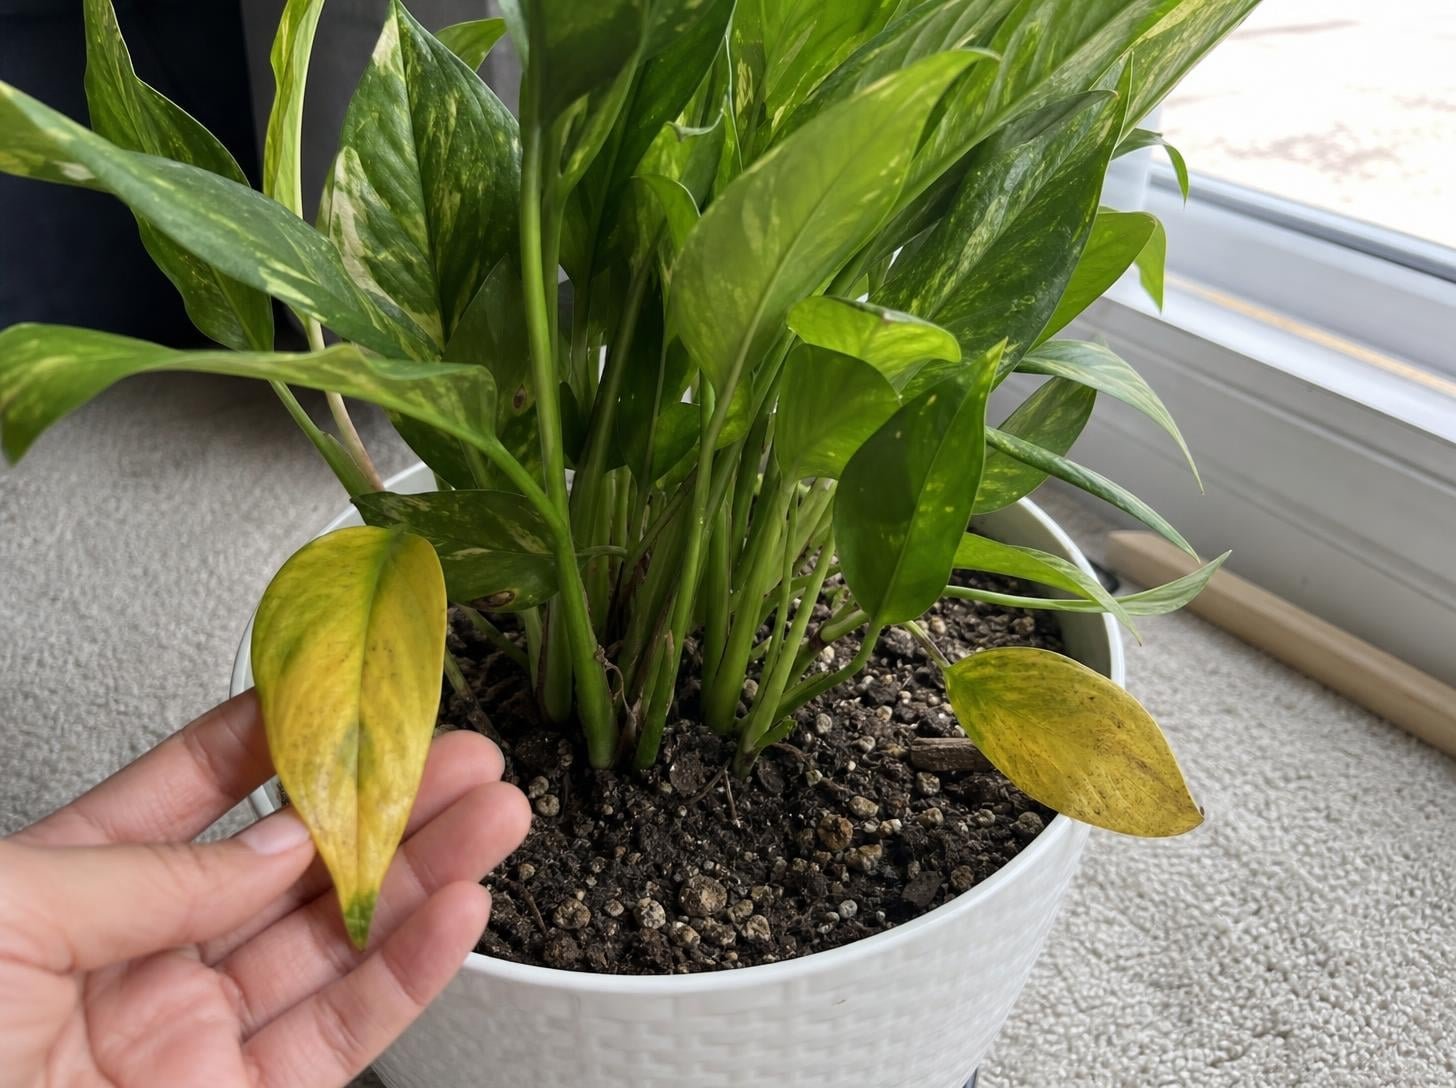
If the leaves are already changing color, use our guide to diagnose why houseplant leaves turn yellow before adjusting the watering routine.
2. Letting the Plant Sit in Water
A nursery pot placed inside a decorative cachepot is convenient and attractive. The problem begins when water drains from the inner pot and remains hidden at the bottom. The root zone may stay saturated even though the soil surface looks normal.
Constant wetness reduces oxygen around the roots, increases the risk of root rot, and can support fungus gnat development. The plant may wilt and yellow even though it has plenty of water because damaged roots cannot move that water effectively.
What to do instead
Remove the nursery pot for watering, allow it to drain completely, and empty the outer container before replacing it. Do the same with saucers. If a decorative pot has no drainage, use it as an outer cover rather than planting directly into it.
3. Moving a Small Plant Into a Huge Pot
A large pot may seem generous, but roots can only use water in the area they currently occupy. All the extra potting mix around a small root ball stays wet longer, particularly in low light. This creates a larger moisture reservoir than the plant can manage.
University Extension guidance commonly recommends moving up only one container size. A modest increase provides room for growth without surrounding the roots with a large mass of slow-drying mix.
What to do instead
Choose a new container roughly one to three inches wider than the current pot, depending on the plant’s size. Confirm that it has drainage. If the plant is top-heavy, use a heavier outer pot or support instead of automatically giving it a dramatically larger root volume.
Roots circling densely, emerging from drainage holes, or causing the mix to dry unusually quickly are better reasons to repot than simply wanting a new decorative container. Follow our guide to repotting a plant safely.
4. Treating “Low Light” as “No Light”
Houseplants are often arranged like furniture. A dark corner looks empty, so a plant is placed there. The room may feel bright to people, but light intensity falls rapidly as distance from the window increases.
Plants kept in inadequate light may stretch, produce smaller leaves, lose variegation, stop flowering, or shed older foliage. The potting mix also dries slowly, making the plant easier to overwater.
What to do instead
Match the plant to the actual window exposure and distance. If natural light is insufficient, add a suitable grow light. Move plants gradually when increasing direct sun because foliage adapted to shade can scorch.
Even the plants in our guide to houseplants that tolerate lower light need usable light to maintain themselves. Low-light tolerant does not mean capable of growing in darkness.
5. Fertilizing a Plant That Is Already Stressed
Fertilizer is not plant medicine. It supplies nutrients; it does not repair rotten roots, compensate for weak light, or cure pest damage. Feeding a stressed plant can add soluble salts to damaged roots and create brown tips, scorched margins, or additional decline.
More fertilizer does not automatically produce faster growth. Houseplants grow only as fast as light, water, temperature, genetics, and root health allow.
What to do instead
Correct the environment first. Once the plant is actively producing healthy growth, use a fertilizer labeled for houseplants and never exceed the recommended concentration. Reduce or pause feeding when growth slows seasonally unless the particular plant and growing conditions call for continued fertilization.
White crust on the soil or pot, damaged leaf margins, and a history of frequent feeding may point to salt buildup. A freely draining potting mix can be flushed with clean water, but severely degraded or compacted mix may need replacement.
6. Repotting Every Plant the Moment You Bring It Home
A new plant has already experienced changes in transport, temperature, humidity, and light. Immediate repotting adds root disturbance. Sometimes it is necessary—especially when drainage is absent, the mix is severely degraded, or roots are unhealthy—but it should not be automatic.
What to do instead
Inspect the plant, pot, and roots first. Keep it separated from your collection while it adjusts. Learn how quickly its mix dries in your home. If it is healthy and the container drains properly, allowing a short acclimation period may be safer than performing several major changes on the first day.
When repotting is necessary, keep the plant at approximately the same soil level, choose only a slightly larger container, and use a mix appropriate for the species.
7. Filling Indoor Pots With Garden Soil
Soil that works outdoors may become dense and slow-draining inside a container. Garden soil can compact, limit oxygen around roots, and carry weed seeds, insects, or disease organisms into the home.
Different houseplants also need different balances of air and moisture. An orchid grown naturally on trees does not belong in the same material as an African violet or a tropical foliage plant.
What to do instead
Use a clean commercial potting mix or a species-appropriate blend designed for containers. Additives should serve a clear purpose: coarse bark may improve air space for certain plants, while water-retentive ingredients suit others. Do not create a complicated mix simply because a social media recipe lists many ingredients.
8. Misting Leaves as the Answer to Every Problem
Misting temporarily wets leaf surfaces, but it usually does not raise room humidity for long. It cannot replace proper watering, correct root-zone moisture, or a suitable environment. Frequently wet foliage may also be unhelpful for plants prone to leaf spotting, especially when air circulation is poor.
Misting is also not a complete spider-mite treatment. A rinse can physically remove some pests, but an established infestation requires repeated inspection and an appropriate control plan.
What to do instead
If a plant genuinely requires higher humidity, measure the room with a hygrometer and use a humidifier when necessary. Grouping plants can create a slightly different local environment, but do not crowd foliage so tightly that air stops moving.
Clean dusty leaves with a gentle rinse or damp cloth when appropriate for the species. Avoid leaf-shine products that leave residue and do not spray fuzzy leaves such as African violets indiscriminately.
9. Checking the Top of the Plant but Not Under the Leaves
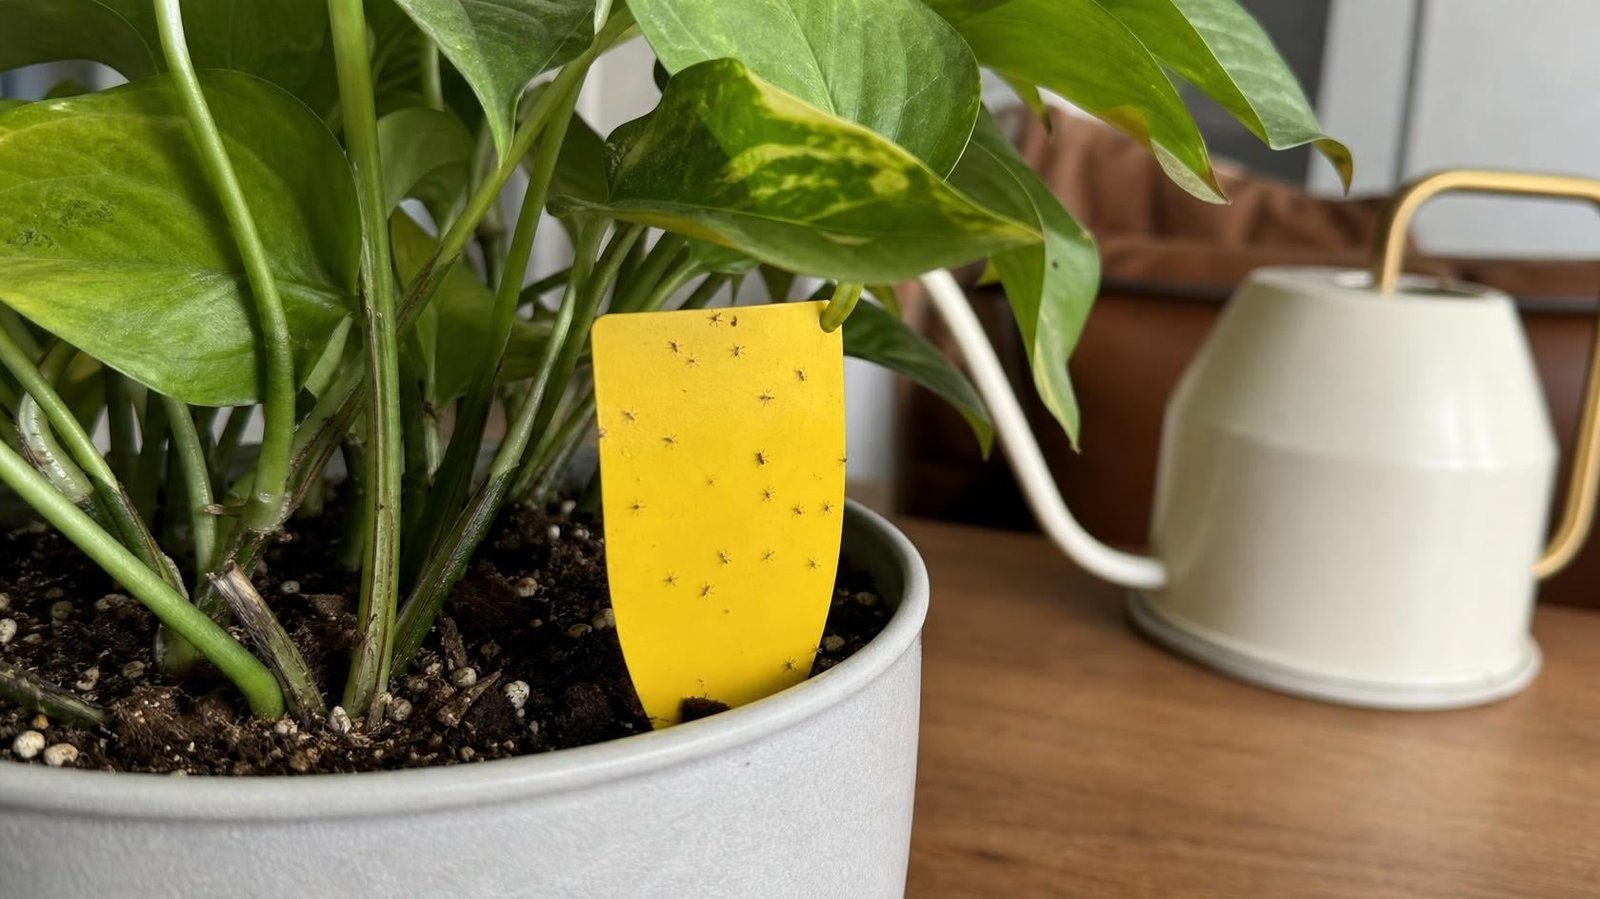
Many pests begin where they are hard to notice. Spider mites feed on leaf undersides. Mealybugs hide in joints and sheaths. Scale insects can resemble small bumps on stems, while thrips may leave silvery damage and dark specks.
By the time a large population is visible from across the room, nearby plants may already be affected.
What to do instead
During watering, inspect several leaf undersides, new growth, stems, and the soil surface. Use a flashlight or magnifier when you see stippling, sticky residue, distorted growth, webbing, or unexplained yellowing. Isolate an affected plant before treatment.
10. Putting a New Plant Straight Into the Collection
A beautiful new houseplant can carry insects that are still too few to notice. Placing it immediately among established plants gives pests an easy route into the entire collection.
Fungus gnats, mites, mealybugs, scale, thrips, and whiteflies may hide in potting mix, leaf joints, or on leaf undersides. Eggs and immature stages can be present even when the plant looks clean at the store.
What to do instead
Keep new plants in a separate area for a reasonable observation period. Inspect them more than once because a single check can miss eggs or small insects. Avoid sharing drainage water, tools, or leaf contact with the main collection until you are comfortable that the plant is healthy.
If a pest appears, identify it before spraying. Products must be labeled for indoor use, the plant, and the target pest. Follow label instructions and expect that repeat treatment may be necessary.
11. Changing Light, Water, Soil, and Fertilizer All at Once
When a plant looks unhappy, doing everything feels productive. Unfortunately, several simultaneous changes make it impossible to learn which condition caused the problem. Repotting also damages some fine roots, relocation changes water use, and fertilizer adds another variable.
The plant may need time to respond. Old damaged leaves usually will not recover, so judging success after two days can lead to another unnecessary intervention.
What to do instead
Start with evidence. Check moisture, drainage, light, pests, roots, and recent changes. Correct the clearest problem first unless the plant faces an urgent issue such as advanced rot or a severe infestation. Watch the newest growth over time rather than expecting old damage to disappear.
Five Signs You Should Act Quickly
- The lower stem, crown, or roots are black, brown, soft, or foul-smelling.
- Yellowing and leaf drop are spreading rapidly while the soil remains wet.
- You see webbing, cottony clusters, sticky residue, moving insects, or extensive stippling.
- The plant recently experienced freezing temperatures or direct contact with cold glass.
- Several nearby plants begin showing the same pest symptoms.
Five Changes That Usually Can Wait
- Removing one naturally aging bottom leaf.
- Moving a healthy plant into a decorative pot simply for appearance.
- Fertilizing a newly purchased or recently stressed plant.
- Repotting only because a few roots are visible near a drainage hole.
- Pruning every imperfect leaf before diagnosing the cause.
How to Build a Houseplant Routine That Actually Works
A useful routine is based on observation, not identical treatment. Once or twice a week, walk through the collection and check:
- Which pots have become light?
- Which plants have dry soil at the depth appropriate for that species?
- Are any leaves yellowing, spotting, curling, or dropping?
- Are pests or sticky residues visible beneath the leaves?
- Has seasonal light changed enough to affect placement or watering?
Only water the plants that need it. This takes slightly longer at first, but it becomes faster as you learn how each pot behaves.
Easy Plants Still Need the Right Conditions
Terms such as “indestructible” and “impossible to kill” are marketing shortcuts. A tough plant tolerates a wider range of conditions; it does not survive indefinitely without light, drainage, or appropriate watering.
For example, the ZZ plant stores water and tolerates missed watering better than many tropical plants, but that same trait makes constantly wet soil risky. Our complete ZZ plant care guide explains its specific needs.
If you have pets, plant choice matters as much as care. Use our guide to non-toxic indoor plants for homes with pets as a starting point, and verify current safety information for the exact species.
Final Thoughts
Houseplants usually respond better to consistent, appropriate conditions than to constant attention. The most helpful care is often simple: enough light, a draining container, the right-sized pot, clean potting mix, and water applied when the plant needs it.
If a plant is struggling, resist the urge to perform a complete care makeover. Find the strongest clue, correct that condition, and give healthy new growth time to appear. Fewer well-chosen actions can save a plant from the very care meant to help it.
Sources and Further Reading
- University of Maryland Extension: Overwatered Indoor Plants
- University of Maryland Extension: Diagnose Indoor Plant Problems
- University of Minnesota Extension: Spring Houseplant Care
- University of Minnesota Extension: Managing Insects on Indoor Plants
- Illinois Extension: Houseplant Care
- Illinois Extension: Houseplant Troubleshooting
- Illinois Extension: Moving Houseplants Indoors and Overwinter Care